Backup/Restore Apps on any Android 4.0+ Smartphone [Rooted/Unrooted]

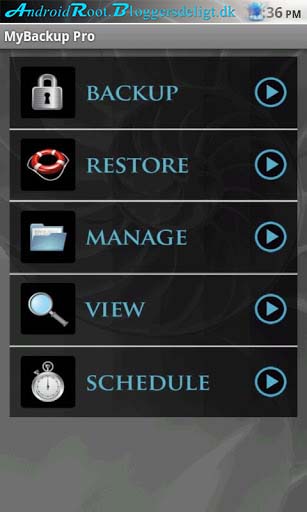
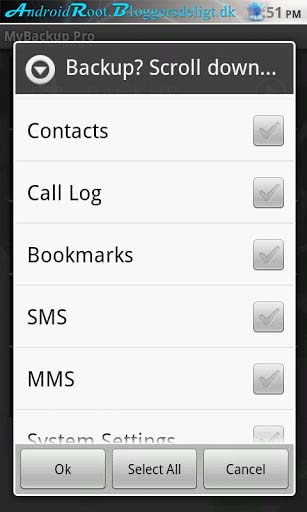
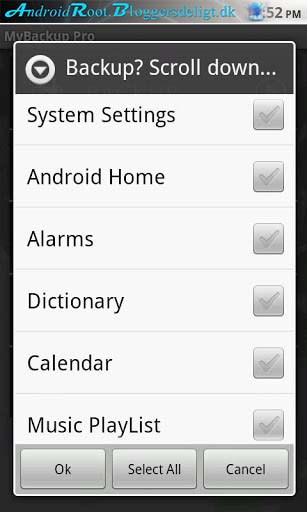
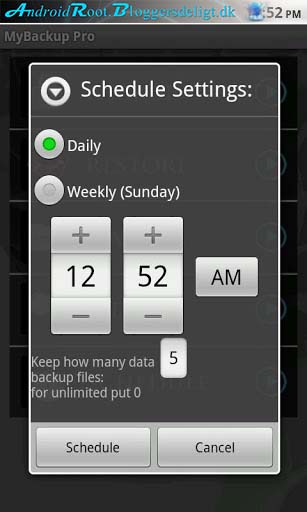
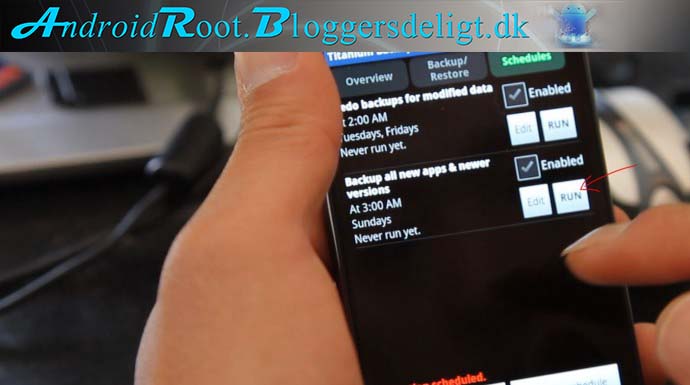
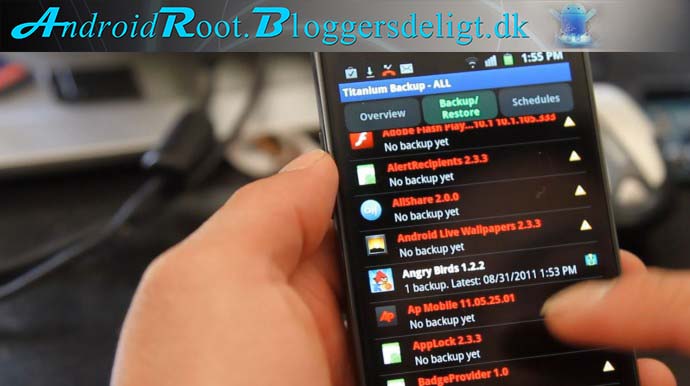
The easiest backup for Android (pictures below)

Supporting the most content and the most devicesMyBackup Pro is the easiest backup for Android. Supporting the most content, and the most Android devices.Backup (with schedule option) to our online secure servers, or SD card, your Applications, Photos, Music, Videos, Contacts, Call log, Browser Bookmarks, SMS (text messages), MMS (message attachments), Calendar, System Settings, Home Screens (including shortcut positions), Alarms, Dictionary, Music Playlists, APNs, and more…

IN BETA: Trigger a backup to begin on your phone (Android 2.2+ only) from anywhere in the world by logging into the Web Viewer from our website www.rerware.com

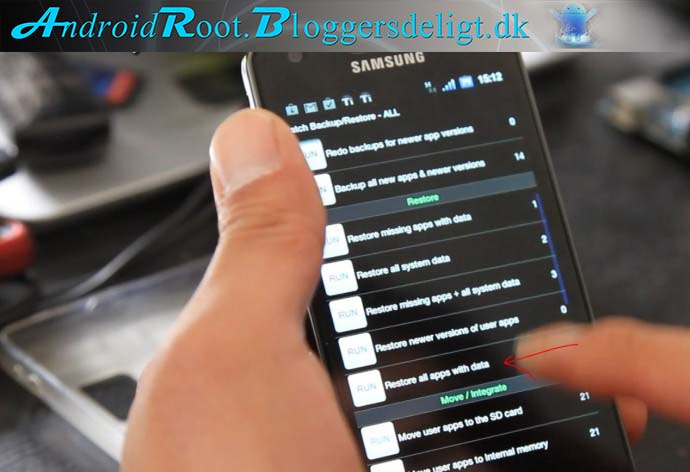
Restore your backups on your existing or new phone.

View your data and application backups online, by logging into the Web Viewer at www.RerWare.com

MyBackup Pro will work on all Android mobile devices, regardless if they have root access or not.
Users who have a rooted phone: You can backup apk+data as well as market links!

NOTE: Data/setting of applications can only be supported if you have a rooted phone, or if the application integrates with us.

__ ROOT ONLY PHONE FEATURES BELOW __
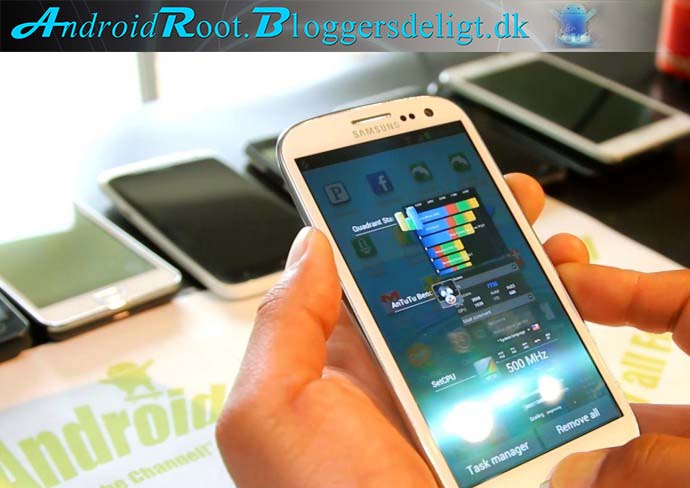
MyBackup Pro now comes with all MyToolbox features for Free.
This application will allow Root users to multi-select applications and perform the following functions with 0-click batch operations!

– Freeze bloatware, system apps
– UnFreeze frozen applications
– Wipe Cache of applications
– Wipe Data of applications
– Uninstall applications
– Break the Android Market Link to Apps
– Link Apps to the Android Market
– Force Close applications
_______________________
www.RerWare.com

Galaxy S2 GT-9100 Backup/Restore

For those of you who’ve recently rooted your Samsung Galaxy S2 Android smartphone, you will probably want to learn how to backup/restore ROMs on your phone using ClockworkMod Recovery. By backing up your rooted ROM, you will have an insurance in case something goes wrong in the future such as bricking your phone while installing a new kernel or ROM.

After rooting, we highly advise you to backup your rooted stock ROM as you will also need this to unroot if needed later on.

Here’s how to backup/restore ROM on your Galaxy S2:

Step 1. Power off your phone then reboot into ClockworkMod Recovery by holding down Volume Down, Home button, and Power button together and hit the Volume Up button when you see a screen with options.

Note – You may have to hit the Home button instead of Power button in these instructions depending on which version of ClockworkMod Recovery you have.

Step 2. Once in ClockworkMod Recovery, choose “Backup and Restore” and hit the Power button.

Step 3. Choose “Backup” and hit the Power button.

Step 4. When backup is done, it will be backed up to a folder with current date and time. You can always change this folder name to something more memorable like “rooted stock ROM”.

Step 5. To restore, simply hit “Restore” instead of “Backup” and choose the backup folder you want to restore.

Backup will backup everything including your ROM, kernel, contacts, apps, etc…etc… The only thing that won’t be backed up are the contents of your SD card.


Credits – MAX

Galaxy S2 GT-9100 Backup/Restore Apps with Titanium Backup

Once you’ve made a backup of your current ROM, you will also want to learn how to backup and restore with Titanium Backup app as this method will allow you to quickly restore your apps when you install a new ROM on your Galaxy S2.  (The ClockworkMod method backups up your WHOLE system including the ROM itself so you need another method to restore your apps such as this Titanium Backup app when installing new ROMs.)

First, you will need a rooted Galaxy S2 of course.  Next, go ahead and download the free version of Titanium Backup app from Market.

Second, hit “RUN” next to “Backup all new apps & new verison”, this will backup all of your non-system apps such as ones you’ve installed off the Market.

Once that’s done, you can go hit the “Backup/Restore” tab, which will show you all the apps that’s backed up.  If there’s an app you want backed up but didn’t backup, you can manually back it up here.  I did that with the Memo app, which contains some important memos that my friend wanted to keep on his Galaxy S2 after moving to a new ROM.

After you install a new ROM, simply install Titanium Backup app again from the market, hit Menu->Batch then “Restore all apps with data” to restore all of your apps.


Credits – MAX

Galaxy S3 GT-9300 Backup / Restore

So, you rooted your Galaxy S3 and you want to install custom ROMs? Or maybe just want to get rid of bloatware?

Well, let me tell you that BEFORE you do any of that, you should make a backup ROM using the ClockworkMod Recovery.

Why?

Backing up a ROM backups up literally everything including the ROM, kernel, settings, and apps. The only thing that’s not backed up is the contents of your internal storage and microSD card such as personal photos and videos.

Having a backup ROM makes it easy to restore your phone when something goes wrong. And if you haven’t backed up your ROM at least once, we HIGHLY ADVISE you to do it NOW.

Step 1. We will first reboot into ClockworkMod Recovery by holding down Volume Up, Center Home, and Power buttons together for about 10 seconds.

Step 2. Once in ClockworkMod Recovery on your rooted Galaxy S3, choose “backup and storage”.

Step 3. You will have an option to “backup” or “backup to internal storage”.  The first option will backup to your microSD card while the latter to the internal storage.

All your backups get stored in ClockworkMod/backup directory in your microSD or internal storage.  You can always move these files to your computer’s hard disk or even cloud if you don’t want your backups to take up space after you backup.  Backup ROMs usually are near 500-1000MB.

So, go ahead and choose “backup” or “backup to internal storage”.

Step 4. Your rooted Galaxy S3 should now be backing up.  Backing up ROM takes 5-10 minutes so go ahead and get your cup of coffee and come back.

Step 5. To restore ROM, simply use the same “backup and restore” menu then choose “restore” or “restore from internal sdcard” depending on where you backed up your ROM.

Step 6. Once you choose restore, you will have the option to choose the backup folder, which are saved with the timestamp.  You can always change the name of these backup folders to something more memorable using File Manager app or ES File Explorer app.


That was easy right?

So, don’t delay and make a backup ROM if you just rooted your phone, you will thank me later and save yourself time and headache when things go wrong.


Credits – MAX