If you want to be on the latest Samsung official Jelly Bean ROM with the newer features like Multi-window and some more, check out the WanamLite Jelly Bean ROM for your international Galaxy S3 GT-i9300. XDA user Wanam is probably one of the best ROM developers and this ROM represents some of his best work. You will get full stock features plus many enhancements like 15 toggles, tweaked kernels for better performance/battery life, and a ton more.
Check it out and let me know what you think over other Jelly Bean ROMs out right now, I think you will like it.
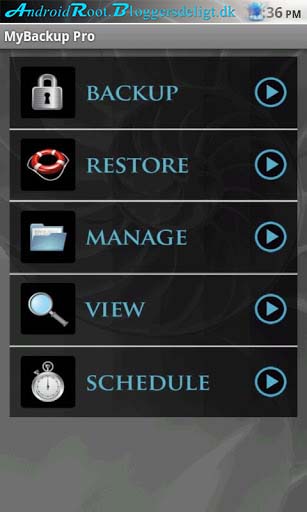
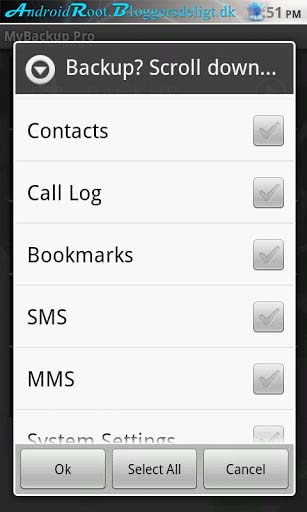
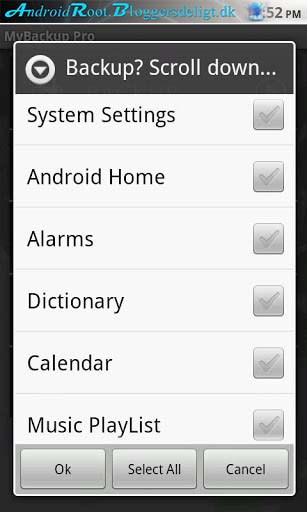
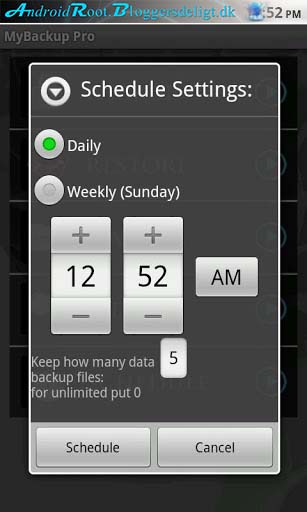
Supporting the most content and the most devicesMyBackup Pro is the easiest backup for Android. Supporting the most content, and the most Android devices.Backup (with schedule option) to our online secure servers, or SD card, your Applications, Photos, Music, Videos, Contacts, Call log, Browser Bookmarks, SMS (text messages), MMS (message attachments), Calendar, System Settings, Home Screens (including shortcut positions), Alarms, Dictionary, Music Playlists, APNs, and more…
IN BETA: Trigger a backup to begin on your phone (Android 2.2+ only) from anywhere in the world by logging into the Web Viewer from our website www.rerware.com
Restore your backups on your existing or new phone.
View your data and application backups online, by logging into the Web Viewer at www.RerWare.com
MyBackup Pro will work on all Android mobile devices, regardless if they have root access or not.
Users who have a rooted phone: You can backup apk+data as well as market links!
NOTE: Data/setting of applications can only be supported if you have a rooted phone, or if the application integrates with us.
__ ROOT ONLY PHONE FEATURES BELOW __
MyBackup Pro now comes with all MyToolbox features for Free.
This application will allow Root users to multi-select applications and perform the following functions with 0-click batch operations!
– Freeze bloatware, system apps
– UnFreeze frozen applications
– Wipe Cache of applications
– Wipe Data of applications
– Uninstall applications
– Break the Android Market Link to Apps
– Link Apps to the Android Market
– Force Close applications
_______________________
www.RerWare.com
Your long wait is over, official Jelly Bean stock firmware is now available for your Galaxy S3 GT-i9300. (Please DO NOT FLASH on U.S./Canadian GS3s!!!)
This first official Jelly Bean stock firmware is for Poland GT-i9300 but it is compatible with any GT-i9300 models and does come with all the languages (as shown in installation video below).
We’ve seen much of the official Jelly Bean features with the leaked JB ROMs but pretty much you get all of the Jelly Bean butter-smooth UI, Google Now/Google Cards, and some more enhancements Sammy added in various different parts.
It looks pretty solid and definitely you should upgrade. If you are on stock rooted ROM, you can probably install this ROM without doing a data wipe/factory reset. However, if you are coming from a custom ROM, my advice is to do a data wipe/factory reset in CWM Recovery before installing.
Try it out and let me know how the official JB goes for you!
You can also use this method to unroot your phone!
For those of you who want to unroot your Galaxy S2 i9100 to the latest ICS “official” stock
ROM, you can do this easily using ODIN. (or Heimdall for Mac/Linux).
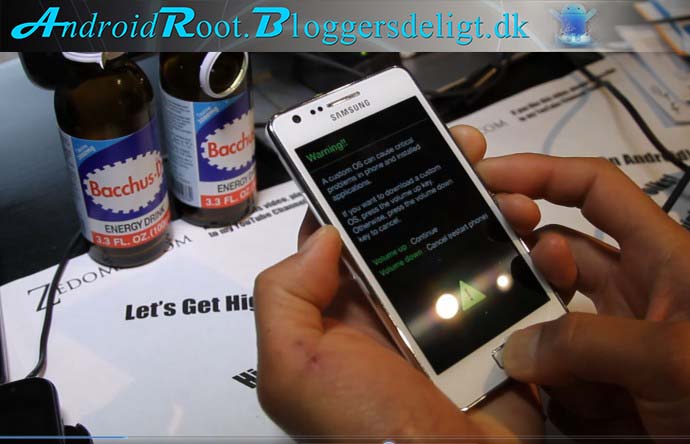
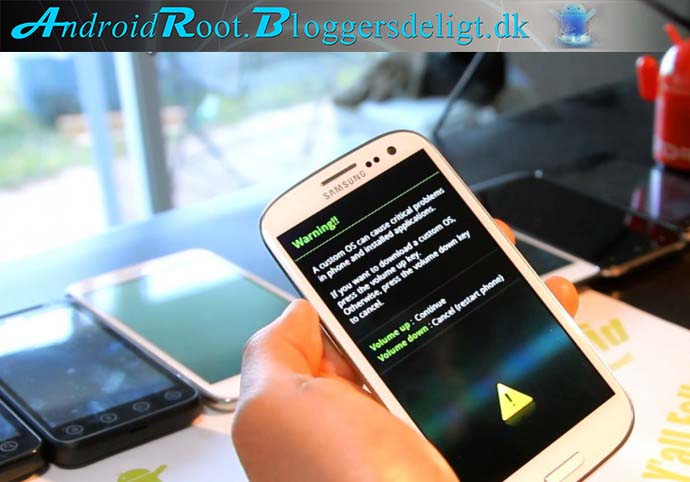
Step 1. Put your Galaxy S2 i9100 into download mode by holding down Volume Down, Center button, and Power button together for about 10 seconds until your phone reboots and you see the warning sign. Press Volume Up button to enter download mode.
Step 2. Connect a micro-USB cable to your Galaxy S2 from your computer.
Step 5. When ODIN runs, you should see a yellow highlight with a COM appearing. If you don’t see it, download Samsung Kies and install. Then plug-out and plug in your micro-USB cable to your phone, you should see it now.
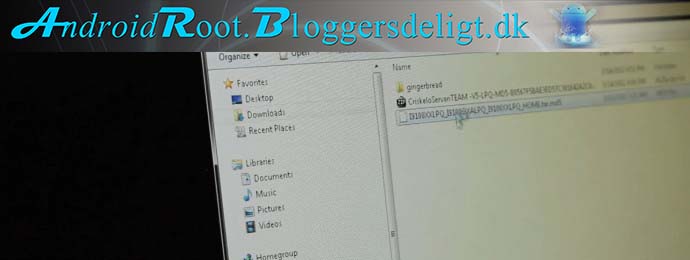
Step 6. Choose “PDA” in ODIN and choose the stock ROM file you downloaded/unzipped earlier.
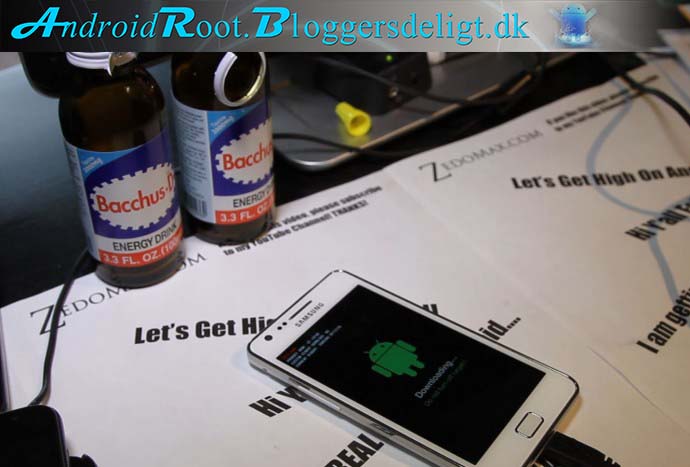
Step 7. Hit “Start” and your phone should start unrooting/unbricking back to ICS official stock ROM.
Step 8. Your Galaxy S2 i9100 will reboot after 5-10 minutes.
For those of you who’ve recently rooted your Samsung Galaxy S2 Android smartphone, you will probably want to learn how to backup/restore ROMs on your phone using ClockworkMod Recovery. By backing up your rooted ROM, you will have an insurance in case something goes wrong in the future such as bricking your phone while installing a new kernel or ROM.
After rooting, we highly advise you to backup your rooted stock ROM as you will also need this to unroot if needed later on.
Here’s how to backup/restore ROM on your Galaxy S2:
Step 1. Power off your phone then reboot into ClockworkMod Recovery by holding down Volume Down, Home button, and Power button together and hit the Volume Up button when you see a screen with options.
Note – You may have to hit the Home button instead of Power button in these instructions depending on which version of ClockworkMod Recovery you have.
Step 2. Once in ClockworkMod Recovery, choose “Backup and Restore” and hit the Power button.
Step 3. Choose “Backup” and hit the Power button.
Step 4. When backup is done, it will be backed up to a folder with current date and time. You can always change this folder name to something more memorable like “rooted stock ROM”.
Step 5. To restore, simply hit “Restore” instead of “Backup” and choose the backup folder you want to restore.
Backup will backup everything including your ROM, kernel, contacts, apps, etc…etc… The only thing that won’t be backed up are the contents of your SD card.
Step 5. Run the ODIN program. You should see a yellow highlighted rectangle box with a number. If you don’t, you need to install Samsung Kies. Download Samsung Kies and install. After installing, un-plug your phone then plug it back in, you should now see it.
Step 6. Hit “PDA” and choose the “CF-Root-SGS2_XX_XEO_LPQ-v5.3-CWM5.tar” file you unzipped earlier.
Step 7. Hit “Start” and the kernel will start flashing to your phone.
Step 8. Your phone will reboot when it’s done.
Step 9. Once you reboot, check that you have the SuperSU app. If you do, you are rooted.
Congratulations! You’ve rooted your Galaxy S3! That was easy right?
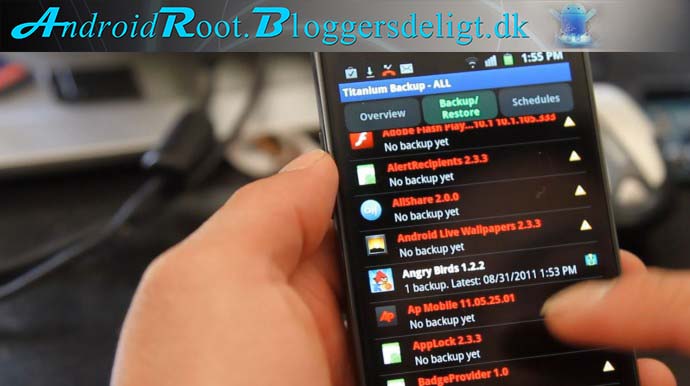
Once you’ve made a backup of your current ROM, you will also want to learn how to backup and restore with Titanium Backup app as this method will allow you to quickly restore your apps when you install a new ROM on your Galaxy S2. (The ClockworkMod method backups up your WHOLE system including the ROM itself so you need another method to restore your apps such as this Titanium Backup app when installing new ROMs.)
First, you will need a rooted Galaxy S2 of course. Next, go ahead and download the free version of Titanium Backup app from Market.
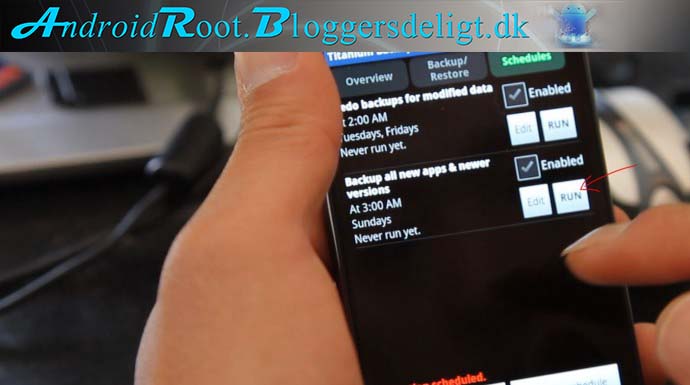
Second, hit “RUN” next to “Backup all new apps & new verison”, this will backup all of your non-system apps such as ones you’ve installed off the Market.
Once that’s done, you can go hit the “Backup/Restore” tab, which will show you all the apps that’s backed up. If there’s an app you want backed up but didn’t backup, you can manually back it up here. I did that with the Memo app, which contains some important memos that my friend wanted to keep on his Galaxy S2 after moving to a new ROM.
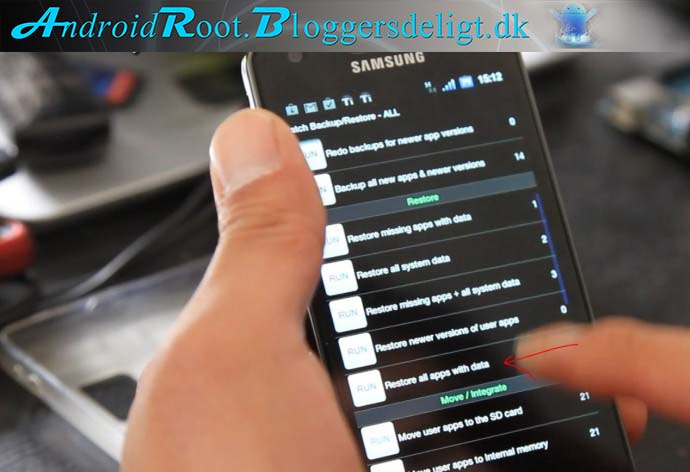
After you install a new ROM, simply install Titanium Backup app again from the market, hit Menu->Batch then “Restore all apps with data” to restore all of your apps.
So, you rooted your Galaxy S3 and you want to install custom ROMs? Or maybe just want to get rid of bloatware?
Well, let me tell you that BEFORE you do any of that, you should make a backup ROM using the ClockworkMod Recovery.
Why?
Backing up a ROM backups up literally everything including the ROM, kernel, settings, and apps. The only thing that’s not backed up is the contents of your internal storage and microSD card such as personal photos and videos.
Having a backup ROM makes it easy to restore your phone when something goes wrong. And if you haven’t backed up your ROM at least once, we HIGHLY ADVISE you to do it NOW.
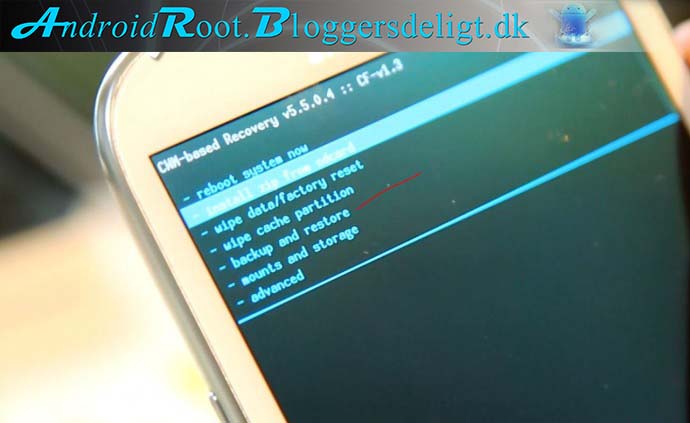
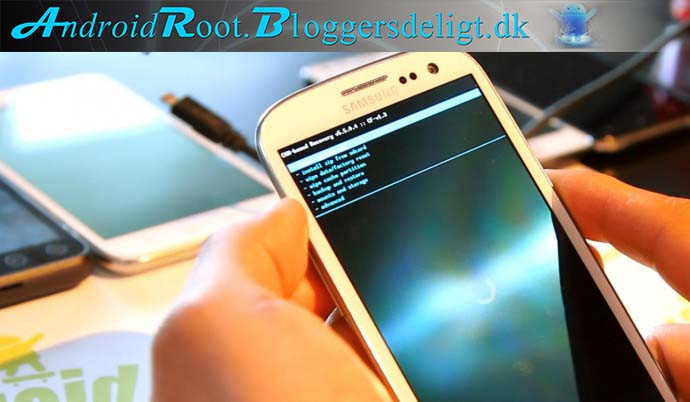
Step 1. We will first reboot into ClockworkMod Recovery by holding down Volume Up, Center Home, and Power buttons together for about 10 seconds.
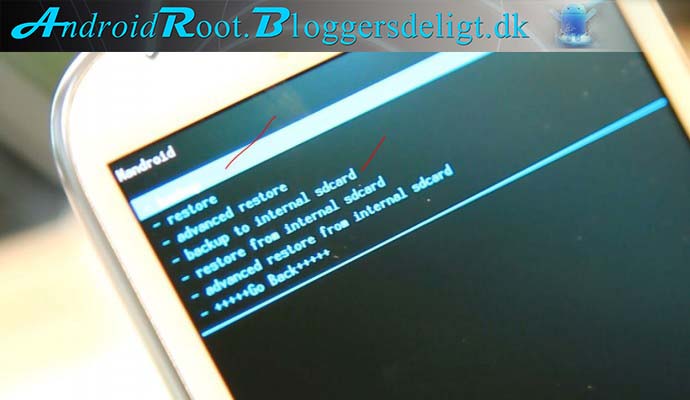
Step 2. Once in ClockworkMod Recovery on your rooted Galaxy S3, choose “backup and storage”.
Step 3. You will have an option to “backup” or “backup to internal storage”. The first option will backup to your microSD card while the latter to the internal storage.
All your backups get stored in ClockworkMod/backup directory in your microSD or internal storage. You can always move these files to your computer’s hard disk or even cloud if you don’t want your backups to take up space after you backup. Backup ROMs usually are near 500-1000MB.
So, go ahead and choose “backup” or “backup to internal storage”.
Step 4. Your rooted Galaxy S3 should now be backing up. Backing up ROM takes 5-10 minutes so go ahead and get your cup of coffee and come back.
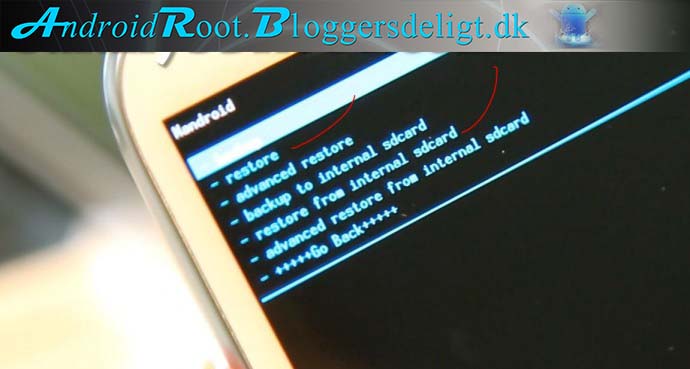
Step 5. To restore ROM, simply use the same “backup and restore” menu then choose “restore” or “restore from internal sdcard” depending on where you backed up your ROM.
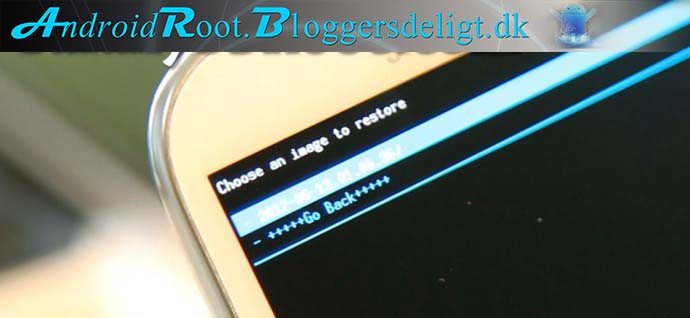
Step 6. Once you choose restore, you will have the option to choose the backup folder, which are saved with the timestamp. You can always change the name of these backup folders to something more memorable using File Manager app or ES File Explorer app.
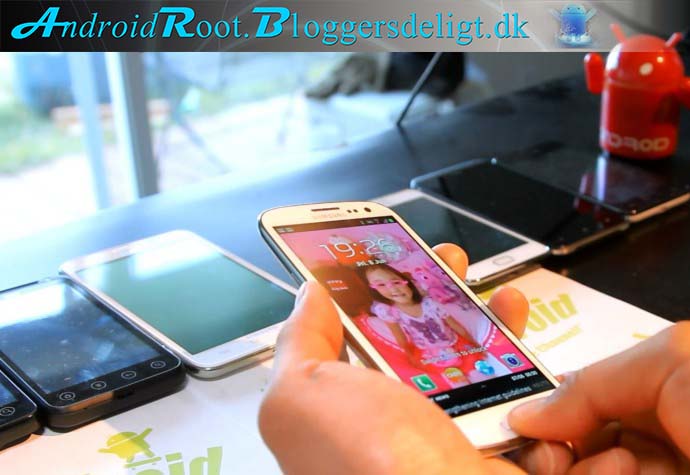
That was easy right?
So, don’t delay and make a backup ROM if you just rooted your phone, you will thank me later and save yourself time and headache when things go wrong.
For this week’s ROM of the week, check out Resurrection Remix Jelly Bean ROM version 3.1.0, comes with latest Android 4.1.2 and AOKP Milestone 1!
The Resurrection Remix Jelly Bean ROM is available for both GT-i9100 and SGH-i777 users and this is probably one of the best ROMs you can run on your phone.
With the latest version, you will find more options than ever with ROM Control and if you install Siyah kernel, you will be able to tweak a ton with its ExTweaks app including overclocking, undervolting, GPU overclocking, BLN notifications and more.
UPDATES:
v3.1.1 – The latest version comes with AOKP Milestone 1!
v3.1.2 – Latest kernels, CM10 sources, 4.2 clock app and keyboardm, fixed A2DP bluetooth connection issues, fixed all issues from 3.1.1
If you haven’t tried the latest version, give it a twirl and let me know what you think!
For those of you who want to get most out of your Galaxy S3 GT-i9300, you will certainly want to root your Galaxy S3. Rooting your Galaxy S3 gives you lots of benefits like full control over your phone, ability to install custom ROMs, and a whole lot more. (If you would like a longer video explanation of what rooting does, please see this video “Why Root My Android Smartphone?”.
So, let’s root our Galaxy S3, it only takes about 5 minutes, very safe to do.
MAKE SURE YOU HAVE A GALAXY S3 GT-i9300 MODEL
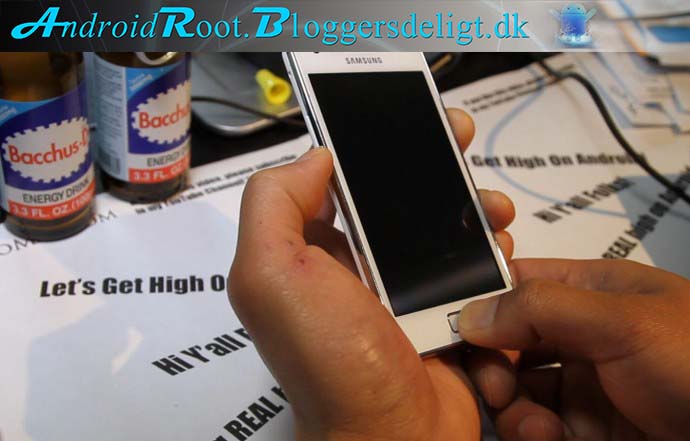
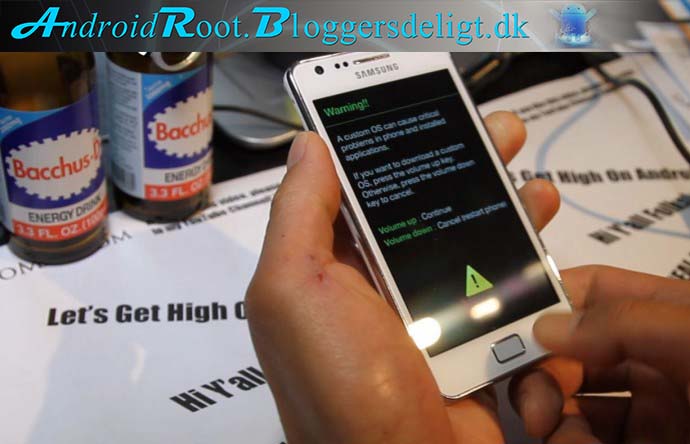
Step 1. Hold down Volume Down, Home Center, and Power buttons together for about 20 seconds until your phone resets and shows you an option to get into download mode.
Step 2. Next hit Volume Up button to enter download mode.
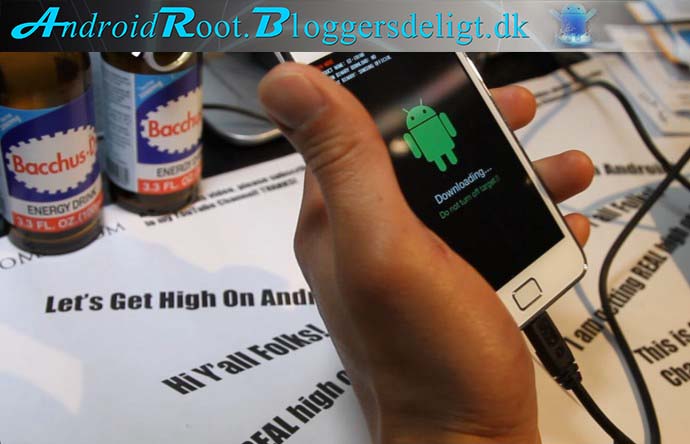
Step 3. Once in Download mode, you can connect your micro-USB cable from your Galaxy S3 to your computer.
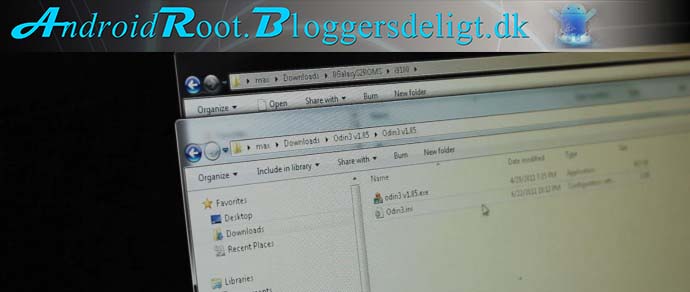
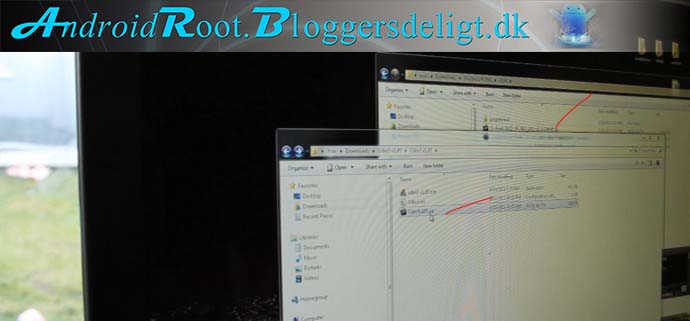
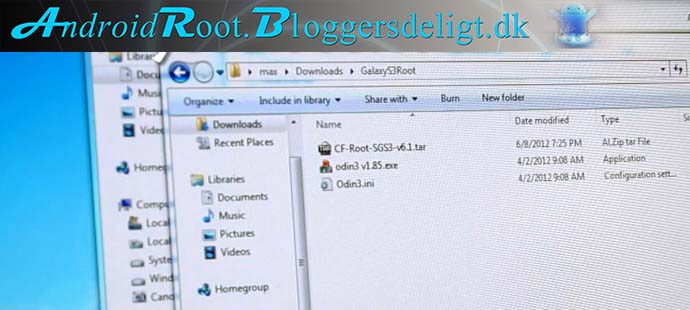
Step 4. Next, download GalaxyS3Root.zip and unzip, you should find 3 files like below screenshot. Download GalaxyS3Root.zip
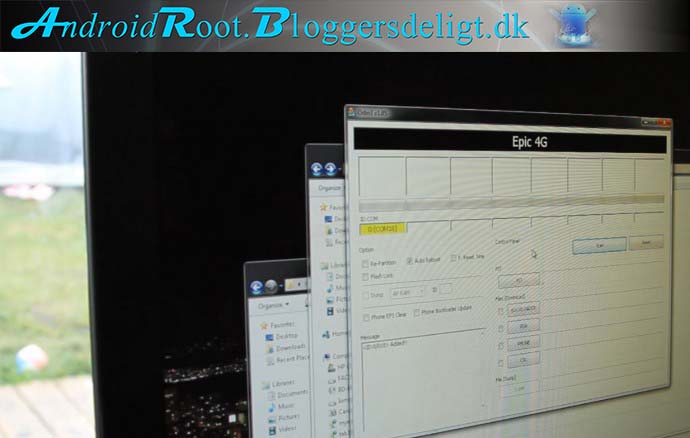
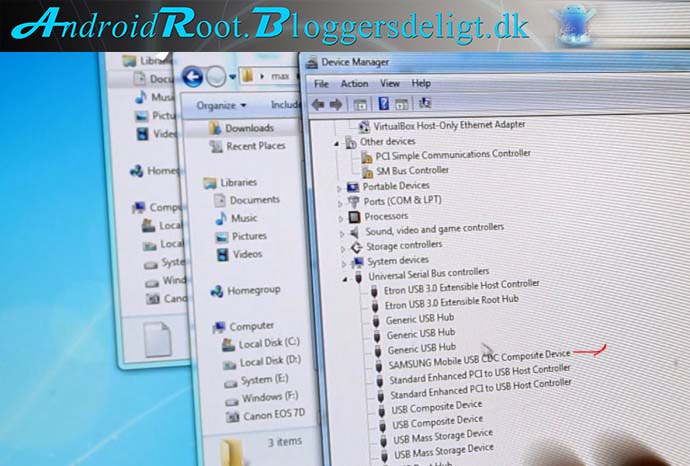
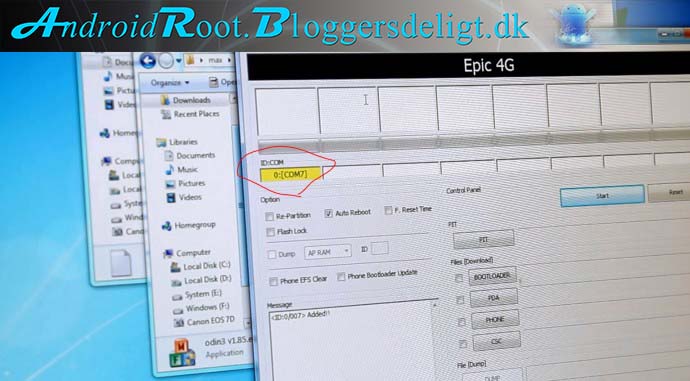
Step 5. Next, make sure you have drivers installed, you should see “Samsung Mobile USB CDC Composite Device” in Device Manager. If you don’t, simply download Samsung Kies and install it. (Then unplug, plug the micro-USB cable.)
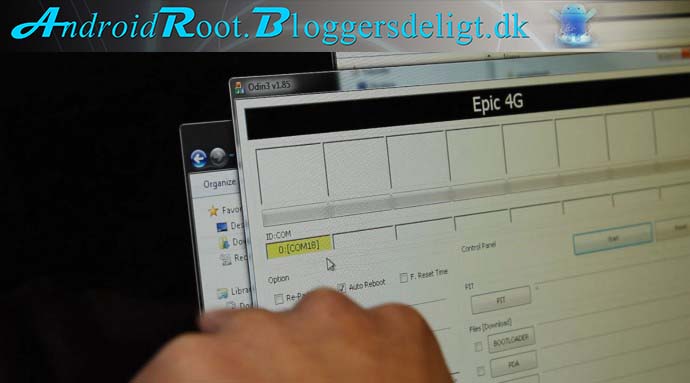
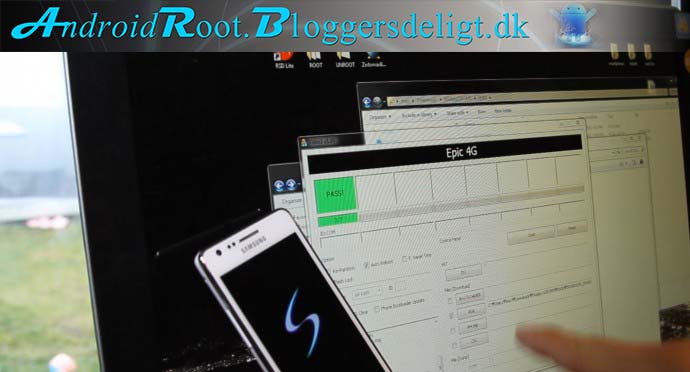
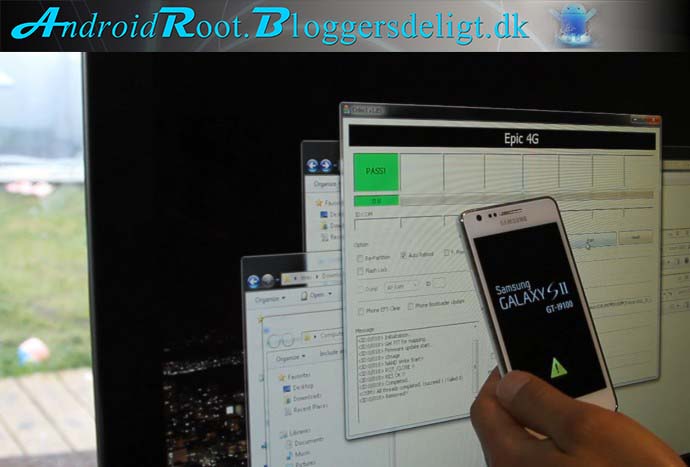
Step 6. Double-click on odin3 v1.85.exe file to start ODIN. You should see a yellow highlighted box with a COM number. The number doesn’t matter just so long as you see a yellow box. If you don’t see yellow box, your drivers are not installed correctly OR try killing Kies in Task Manager as sometimes it can interfere.
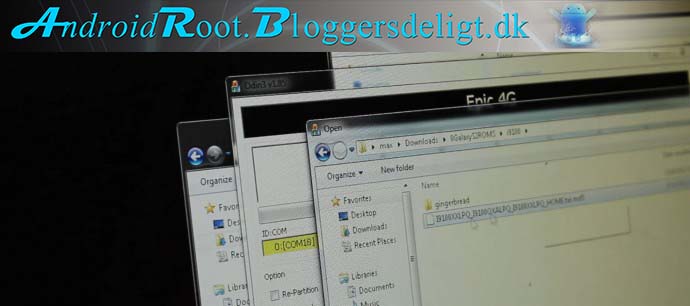
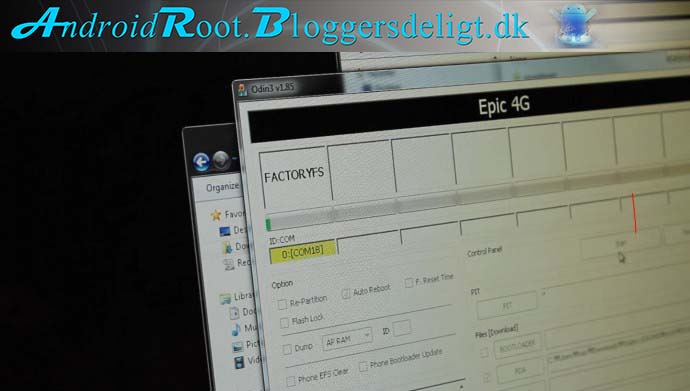
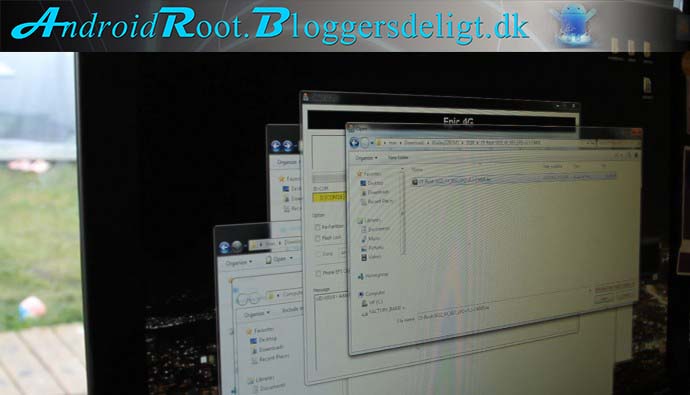
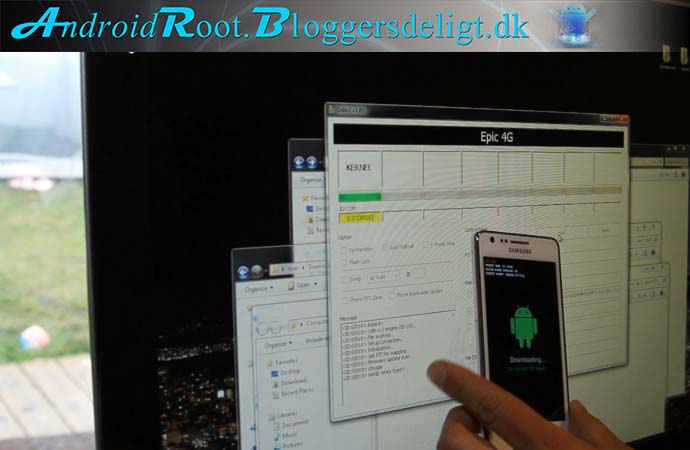
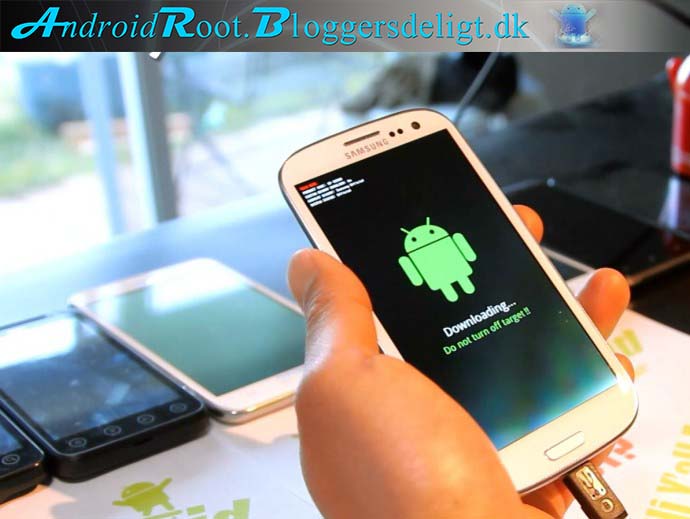
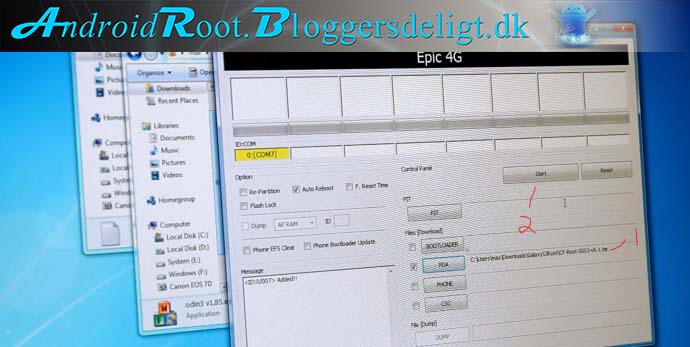
Step 7. Choose “PDA” and choose “CF-Root-SGS3-v6.1.tar” file in GalaxyS3Root folder. Then hit “Start”
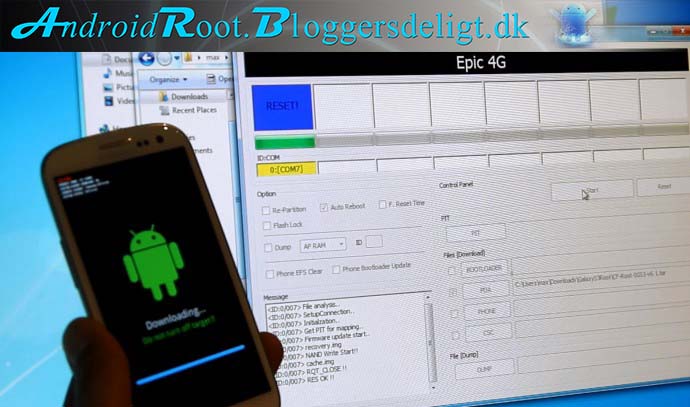
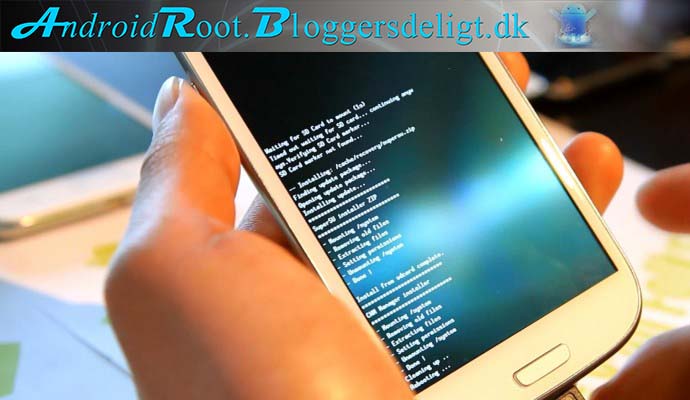
Step 8. In about 10 seconds, your phone will reboot and give you ClockworkMod Recovery and full root.
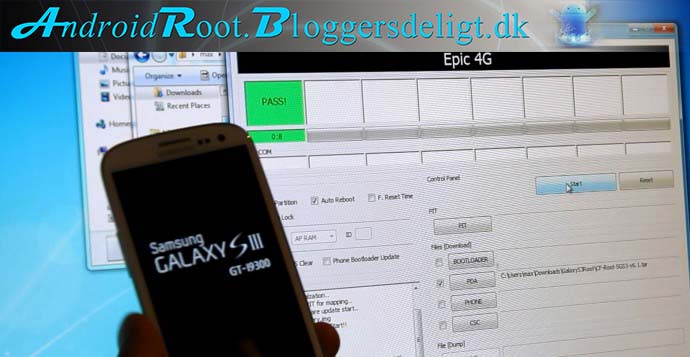
Step 9. You will get a “PASS!” if everything went correctly.
Step 10. Your phone will automatically reboot into ClockworkMod Recovery and install root/Superuser files.
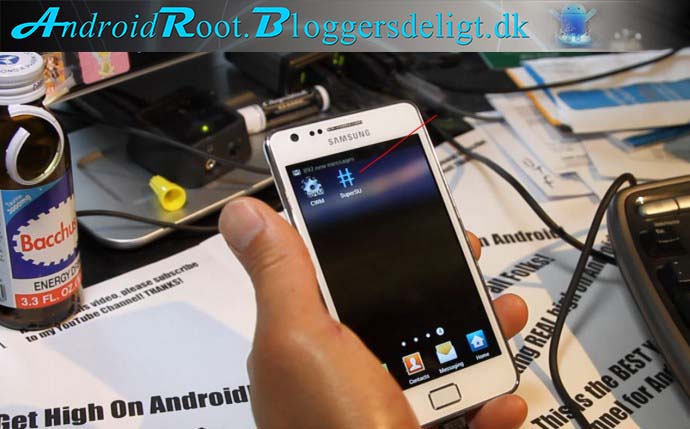
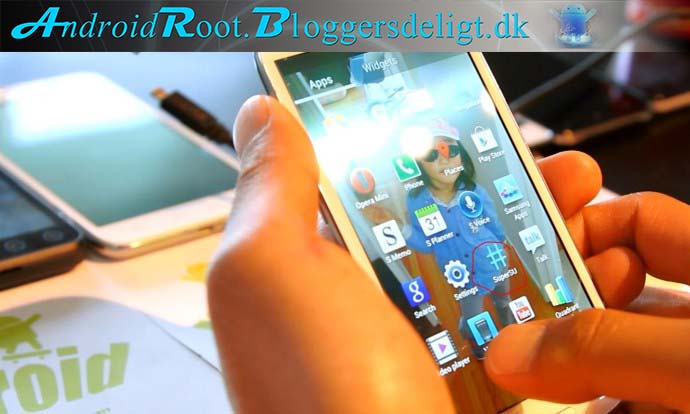
Step 11. Once your phone reboots, you will find “SuperSU” app, which is the Superuser app.
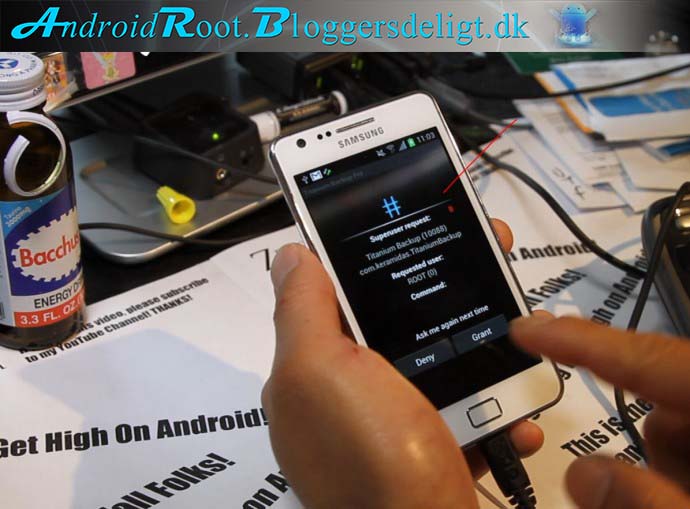
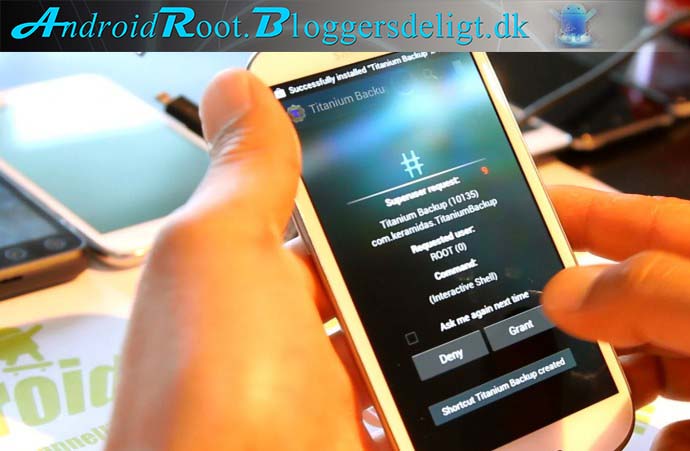
Step 12. You can verify you have root by running a rooted app such as Titanium Backup app, you will see Superuser request window pop up. Hit “Grant” everytime you see this.
Step 13. You can now get into ClockworkMod Recovery anytime by holding down Volume Up, Center Home, and Power button together for 20 seconds.
Congratulations! You’ve rooted your Galaxy S3! That was easy right?
Q: Does this root method erase my settings and apps?
A: No, it doesn’t touch a thing, very safe to do.
Q: ODIN does not start on my computer, what do I do?
A: Sometimes various Windows programs and drivers interfere with ODIN, try closing/killing any programs before running the program. If that does’t work, just use another computer.
Q: I ended up in Kernel panic mode, what do I do?
A: Relax, that’s same as ODIN download mode, simply run ODIN again and flash the files again, it will work.
Q: Does rooting break my phone in any way?
A: No, this root method actually does not change your Galaxy S3 except install custom recovery and give you root. Everything else on your phone will stay the same.
Q: I cannot enter ClockworkMod Recovery, I get stock Android recovery instead! I’ve followed the root guide to the T and same thing is happening after doing it 100 TIMES!!!
A: Newer software updates on the Galaxy S3 sometimes may overwrite the ClockworkMod Recovery you just installed, you can get by this by simply reflashing ClockworkMod Recovery with ODIN, then hold down Volume Up and Center Home button together for 10 seconds as soon as you see “PASS!” in ODIN.
More questions? Please leave in the comment section below for help from author and other users.
More on this Root Method
This root method simply installs ClockworkMod Recovery to the recovery partition and installs Superuser zip file, very safe to do. With Galaxy S2, recovery partition was part of the kernel and was a bit dangerous but with Galaxy S3, Samsung has made recovery parition separate from the kernel, making it much safer just like how Galaxy Nexus works.
For this week, check out Ultima Jelly Bean ROM for your Galaxy S3 GT-i9300.
Based off latest XXDLJ5 Android 4.1.1 Jelly Bean base, the Ultima ROM brings the best of Jelly Bean and a TON of customizations through its AROMA installer. Some notable features include ability to choose 4-5 different kernels, multiple camera options (Galaxy S3 camera, HyperMOD camera, Galaxy Note 2 Camera, Android 4.2 Photo Sphere Camera), and highly “blue” themed ROM.
I think this is one of the better “hybrid” ROMs I’ve seen in awhile and comes with a ton of new things you will appreciate like Nexus 4 wallpapers, 52 ICS blue wallpapers, etc..etc..
Also the AROMA installer is probably the best right now in terms of level of customization you can do on this ROM.